Blog Articles and Company News
How to Properly Use LEDs in Your Home
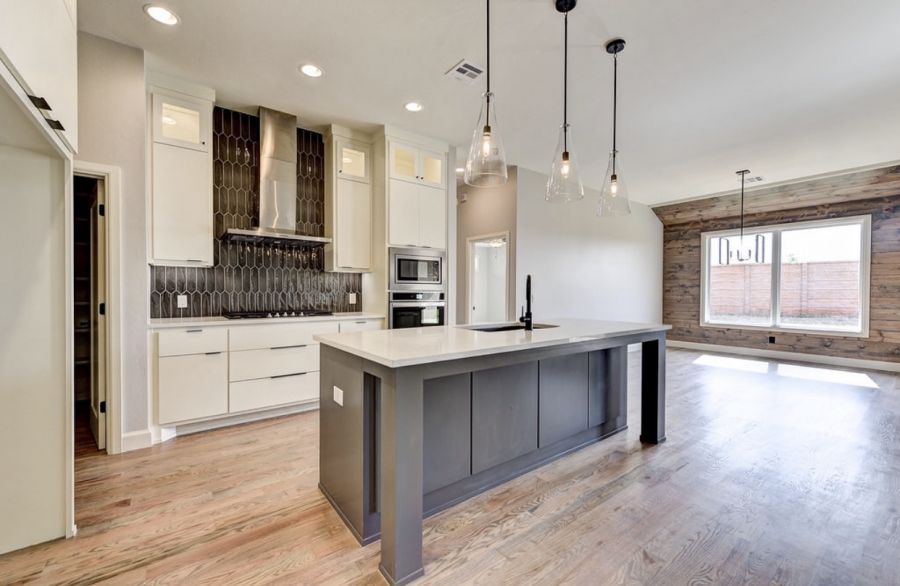
Many people nowadays often opt for LED lights, this is due to many reasons, the biggest of them being that they are energy efficient. Any way homeowners can save is the way to go. There are other benefits to having LED lights in your home such as they are safer because they are sturdy and don’t heat up like other light bulbs. With so many advantages to LED bulbs Justice Homes has made it a point to put them in the new homes that we build. However, many people wonder how they can be used throughout the home and what to look for. Justice Homes wants to help make sure that you have all the needed information before you go out and spend your money on them.
Where Can You Put Them in Your Home?
To tell you the truth, there isn’t a place that you couldn’t put them in your home. LEDs are versatile and come in different hues, levels of warmth, and color tones. This means that there is an LED for practically anything that you want. Here is a list of how many homeowners use them in their home:
- Ceiling Lights
- Recessed Lighting
- Wall Lighting
- Bath and Vanity Lighting
- Task Lighting
- Under Cabinet Lights
- Outdoor Lights
For each of these areas you will want to make sure that you get the right LED for the mood that you’re trying to create.
How to Create the Mood
When it comes to the mood of your lighting, you must consider what lighting you currently have in your home. It is good to look up lighting ideas that way you can figure out the number of different lighting types that you are wanting in the room. When it comes to color tones, it’s entirely up to your preference. Some like a very clean look to the lighting. This would mean that they like a cool white, this type of lighting has more of a blue hue to it. Others like lights that make the home cozier which would mean that they like a warmer hue to the lighting. Because it's up to what you like, you really can’t go wrong. Just make sure that you don’t get lighting temperatures that clash. Also remember that there is always the option of a dimmer if your home is wired in such a way.
Justice Homes has done extensive research into what will make a house the perfect home. That is why we carefully choose the type of lighting for each room. It certainly effects the aesthetic in that space. Don’t take lighting for granted! Remember that LED bulbs will cost more because they last longer and end up saving you money in the long run. So, don’t get sticker shock when you go to shop for them. If you’re looking for more than just bulbs though and are thinking maybe a move might be good for the family, take a look at the homes we have available!
By Justice Homes 11-20-2019
How to Clean Your Grout
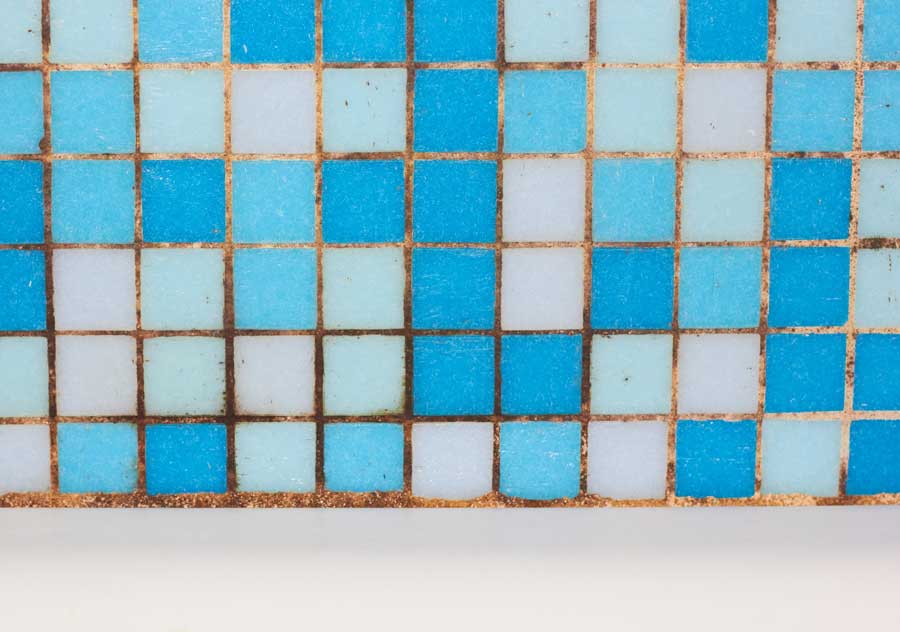
If you have ever browsed the Justice Homes gallery, you will certainly see that we adore tile work. From standout tile backsplashes to elegantly tiled floors, we cannot get enough. One thing is for sure though, you cannot have tile without grout. Having grout is not a bad thing, of course, until it starts to become dingy. Since grout is porous, it is great at trapping dirt and grime. Leading to gross grout that distracts from your beautiful tile.
That is why our friends over at The Grout Medic of Denver have come through with some excellent advice on how to properly clean your grout. With these few tips, your grout will look as good as new in no time.
Supplies:
To get started, here are a few things you will need.
-Scrub Brush (or an old toothbrush!)
-Bucket
-Baking Soda
-Hydrogen Peroxide
-Dish Soap
Prep: In order to prep the grout, start by filling your bucket full of hot water. Next proceed to dip your scrub brush with hot water and scrub the grout in circular motions. This is going to dislodge the surface dirt, making way for you to be able to really get down to the nitty gritty.
Make a paste: Mix together the baking soda and the hydrogen peroxide, using a two-to-one ratio. For slimy grout, add in a few dashes of dish soap to cut the grease. You will be left with a paste that you can then apply to your grout lines. Let the solution rest on the grout for a short period of time, about 15 minutes.
Scrub: Letting the mixture work into the pores of the grout should make things easier for you, but the next thing you are going to need to do is scrub away the remaining dirt trapped in your grout.
Rinse: Finally, using a sponge or squeegee, rinse the mixture away using hot water. Dry, and you should be left with bright, clean grout!
If you would like added protection for your grout, you can apply a grout sealant. Doing so will fill the holes in the pores of your grout, not allowing space for dirt to reside. Be sure that your area is dry before you apply the sealant. Especially for showers, wait 24 hours before applying a grout sealant.
For more helpful grout and tile information, be sure to visit The Grout Medic, or feel free to stick around and browse some of our other blogs. From babyproofing to decorating, you are sure to find something interesting.
By Justice Homes 11-7-2019
Recent:
Categories
Archive
Jun 2026
May 2026
Apr 2026
Mar 2026
Feb 2026
Jan 2026
Dec 2025
Nov 2025
Oct 2025
Sep 2025
Aug 2025
Jul 2025
Jun 2025
May 2025
Apr 2025
Mar 2025
Feb 2025
Jan 2025
Dec 2024
Nov 2024
Oct 2024
Sep 2024
Aug 2024
Jul 2024
Jun 2024
May 2024
Apr 2024
Mar 2024
Feb 2024
Jan 2024
Dec 2023
Nov 2023
Oct 2023
Sep 2023
Aug 2023
Jul 2023
Jun 2023
May 2023
Apr 2023
Mar 2023
Feb 2023
Jan 2023
Dec 2022
Nov 2022
Oct 2022
Sep 2022
Aug 2022
Jul 2022
Jun 2022
May 2022
Apr 2022
Mar 2022
Feb 2022
Jan 2022
Dec 2021
Nov 2021
Oct 2021
Sep 2021
Aug 2021
Jul 2021
Jun 2021
May 2021
Apr 2021
Mar 2021
Feb 2021
Jan 2021
Dec 2020
Nov 2020
Oct 2020
Sep 2020
Aug 2020
Jul 2020
May 2020
Apr 2020
Mar 2020
Feb 2020
Jan 2020
Nov 2019
Sep 2019
Aug 2019
Apr 2019
Feb 2019
Dec 2018
Oct 2018
Sep 2018
May 2018
Jul 2016
Jan 2016
Dec 2014